Basic and Advanced Spey Fishing For Steelhead
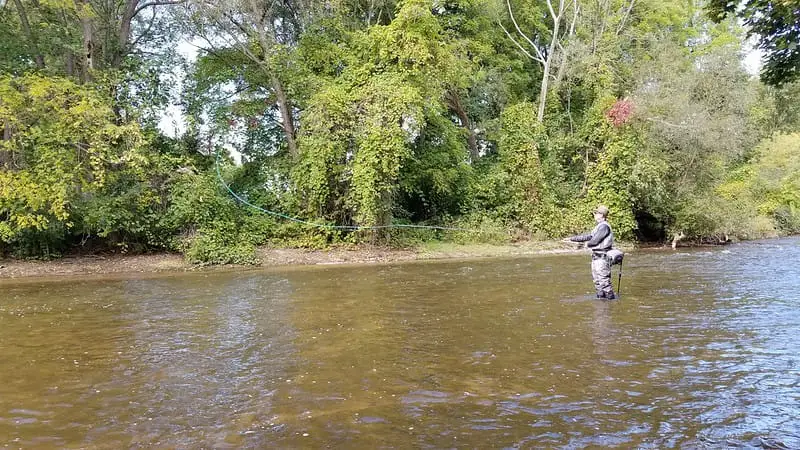
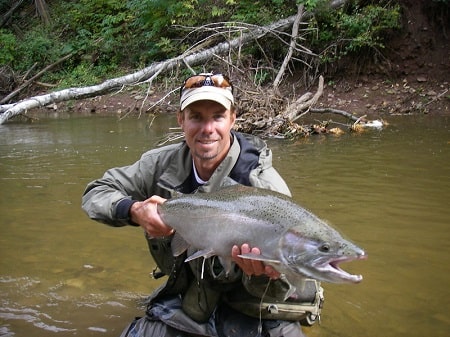
Using two-handed rods, heavy fly lines, and big flies that you swing across the pool while eagerly waiting for the hard yank of a big steelhead is what Spey fishing for steelhead is all about.
When I first started Spey fishing, it seemed pretty basic and easy. Cast, swing, step down, cast, swing, step down, and repeat. Add some mending to that and you have the basics of Spey fishing.
Since that first day of spey fishing, I’ve learned that the basics DO NOT catch a lot of fish.
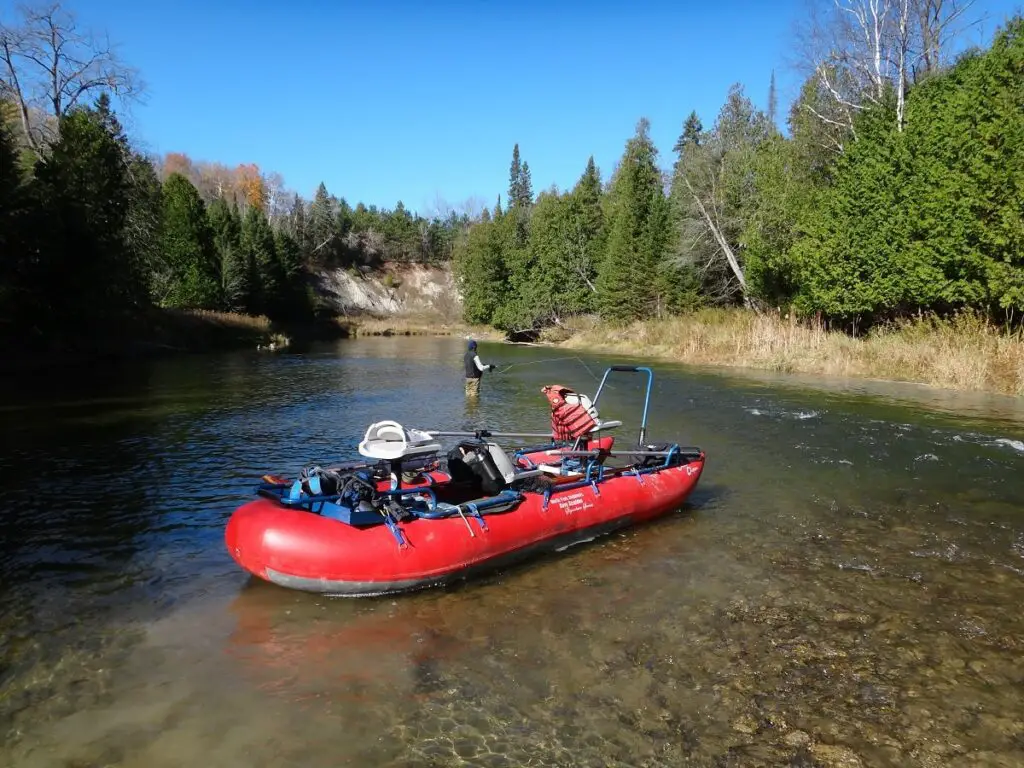
Almost twenty years later, I now guide for steelhead and I’ve learned a ton along the way from other guides, experts, and anglers. But, I seem to consistently catch double, triple, or even ten times more steelhead than most anglers and other guides when swinging flies.
In my opinion, the secret to my success comes down to one or two things I do that are very different. I added a few simple extra steps to the basics which I will share with you.
Swinging for steelhead requires:
- Location: I fish high percentage spots suitable to swinging flies, and where the steelhead hold and feed. I look for water from two to ten feet deep with moderate current speeds.
- The Flies: I tested out many flies, but I stick to five proven Spey fly patterns that trigger a strike response most of the time.
- Fly Depth and Strike Zone: One of the most critical skills is learning how to get the fly into the strike zone and how to find the strike zone.
- Fly Angle and Fly Speed: Controlling the speed of the fly, and the angle of the fly can significantly increase the amount of steelhead that will bite.
Catch 10X More Steelhead with a unique method I have been using use to find the strike zone and cover the water more effectively.
Best Spey Rods For Great Lakes Steelhead
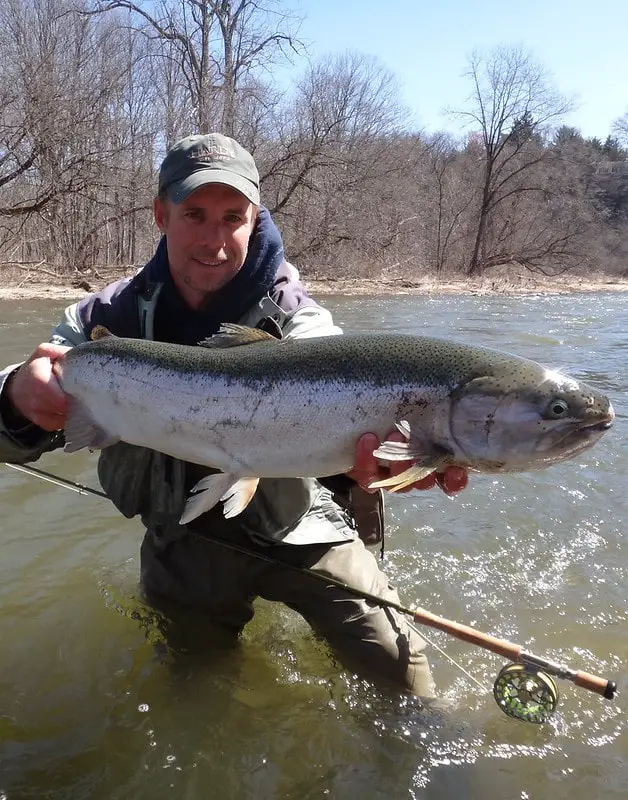
I use 13-foot to 14’6″, 8-weight Spey rods, which are suitable for most West Coast Steelhead Rivers. Some of my recommended Spey rods are:
See all my recommended rods at, Best Spey Rods For Steelhead, or Best Switch Rods For Steelhead.
Spey Reels
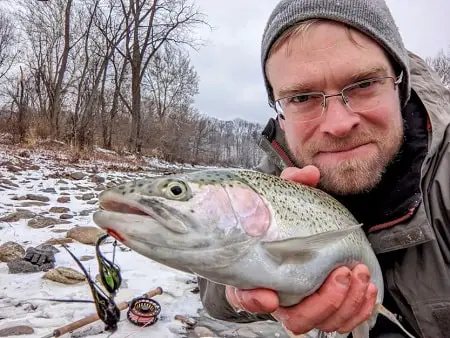
Spey reels should be two sizes bigger than the fly rod rating to allow room for the thicker spey lines and the extra fly line backing required for big West Coast steelhead.
I recommend fly reels with a smooth enclosed drag system, such as these.
- Redington Behemoth Fly Reel
- Orvis Hydros Fly Reel
- Lamson Liquid Fly Reel
- Redington Grande Fly Reel
Check out my switch reel and spey reel reviews.
Spey Lines
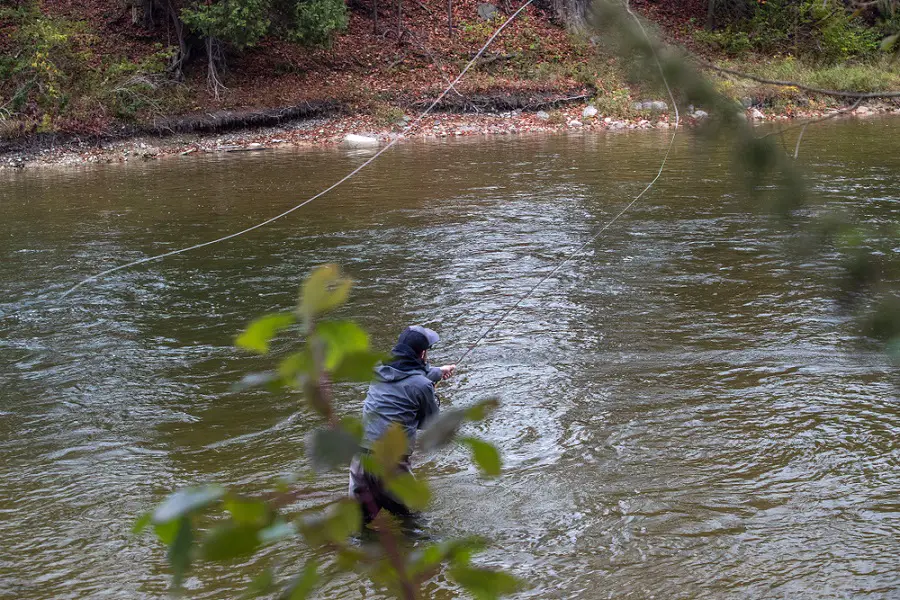
Skagit Lines – Excellent: Skagit fly lines or Skagit heads where made for West Coast steelhead where heavy sink tips and large flies are required to catch more steelhead.
The Skagit lines are heavy which enables anglers to throw heavy sinking tips a long way with ease. The casts may not be pretty, but is gets the job done. Skagit lines are great for sections of the river from four to twelve feet deep.
Length: The length of these heads can vary from 11 to 29 feet, depending on the make of the line.
Running Line: Skagit head lines are made to attach to a running line system that goes to the backing, which attaches to the reel.
Sink Tips: Skagit lines are made so anglers can easily connect and change sinking or floating tips and a tippet.
Best Skagit Lines:
- Rio InTouch Short Head Spey Fly Line
- RIO Skagit Launch heads
- OPST Commando
Sink Tips For Steelhead
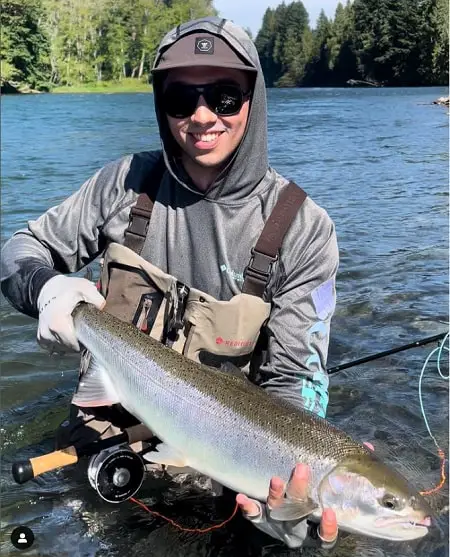
The Skagit line delivers the fly to the other side of the river, but it’s the sinking tip that gets the fly to the fish.
Since steelhead tend to stay close to the bottom, a sink tip added to the end of the Spey line will sink the fly and keep the fly down as it swings across the current.
The heavier and longer the sink tip, the faster and deeper the fly will sink.
Sink Tip Length: To get the desired depth, I use sink tips between 11 and 14 feet long, and I change my tip length based on the type of water I’m fishing.
Types Of Sink Tips: I use the RIO MOW tips to help me get my flies into tight spots and pockets, but I will also use standand non-tapered sink-tips.
Medium-Sized Rivers: A T-9 To T-11 Sink Tips is suitable for mid-sized rivers up to 60 feet wide.
Large, Deep, and Fast Srivers: A T-14 sink tip is best on faster and larger rivers over 60 feet wide.
I get into more detail and list the best sink tips on my page, Sink Tips for Spey Fishing and Switch Rods.
Tippets
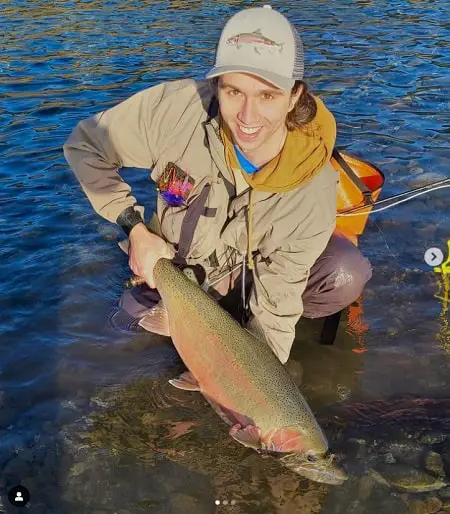
Tippet / Leader Length: I use a 3 to 5-foot fluorocarbon tippet attached to the end of the sink tip and the fly attached to the other end.
Dirty Water Tippet / Leader Length: I use a shorter tippet of two to three feet when fishing dirtier water because the steelhead won’t see the sink tip. I also use short tippets to get deep quickly behind a boulder or in pocket water.
Clear and Shallow Water Tippet Length: I use longer four to six-foot long tippets when fishing very clear water or in shallow water where I don’t need to get the fly deep.
Tippet / Leader Strength: My go-to leader strength is 0X. (14 pounds to 16 pounds)
Spey Flies
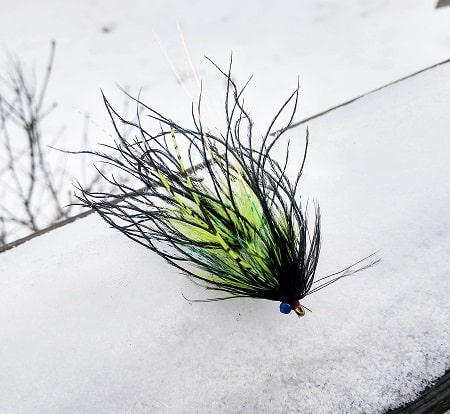
I have found that a few patterns work 90% of the time. I ensure I have each of these patterns in mutliple colors, color combinations, and in multiple sizes.
Having twenty different fly patterns has proven useless for me since I gravitate to the same few patterns. I know most guides use less than five patterns 90% of the time.
Try these in various sizes and colors:
The Hobo Spey
This is my favorite because it’s easy to tie, it has good movement in the water, and the steelhead loves it. I tie this fly in Olive, Black, White, Yellow, Pink, and multi-color variations. I also add flash to many of them. Sometimes a little flash, and sometimes a lot.
The Intruder Spey Fly
Originally designed for West Coast steelhead, this larger and bulkier Spey fly might be the most popular and one of the most effective steelhead Spey flies ever. I tie it in Purple/black, Blue/black, Olive, Black, White, Yellow, Pink, and multicolor. I will tie it in smaller and larger sizes and add some flash, silver, gold, or copper.
Woolly Bugger Spey Fly: This oversized bulky Woolly Bugger works. It’s easy to tie so I tie it in sizes from three to four inches and in Olive, Black, White, Yellow, Chartreuse, Orange, Pink, and multicolor variations. I also do well with a little added flash or tinsel in silver, gold, or copper.
Favorite Variations are:
The Skinny Hoh Steelhead Fly
This is a West Coast-designed fly from the guides at Savage and Smith. This fly has a lot going on for it. I tie it about three inches long and in multiple colors. Same colors as Intruders.
Other good patterns for me are:
- Egg Sucking Leech – Three to four inches – Multiple colors. I add some flash tinsel to the tail.
- Bunny Leech Fly – – Three to four inches – Multiple colors. I add some flash tinsel to the tail.
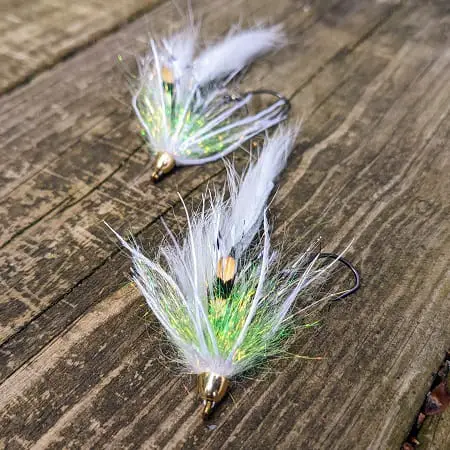
Although my go-to size for all of these flies is between three and four inches. I always have a few in the two in size for times when the steelhead wants a smaller fly.
There are some more great flies in my article Best Spey Flies For Great Lakes Steelhead and Salmon.
Mending And Fly Speed For More Steelhead
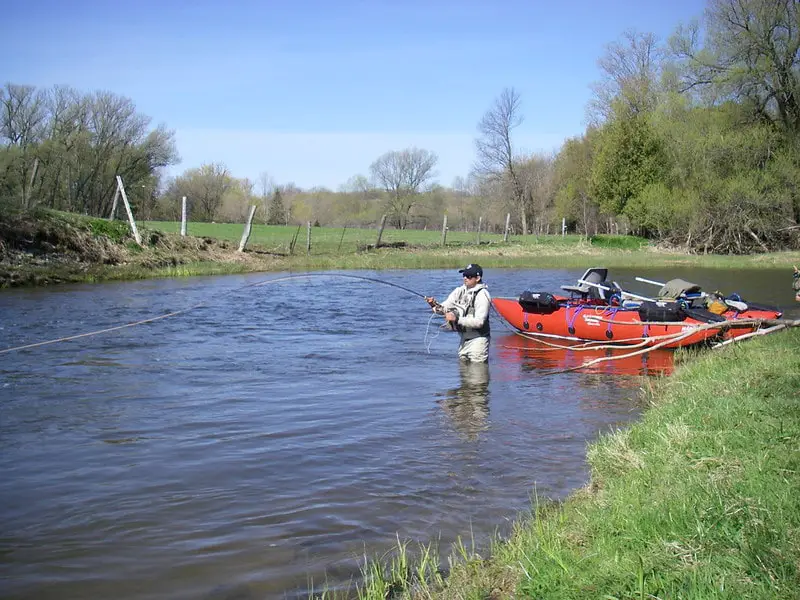
Once my fly hits the water, I’m either mending upriver or downriver. This speeds up or slows down my fly. It also changes the angle of the fly so it is swimming sideways or it’s swimming head upriver.
Mending can also help get the fly much deeper, which I will discuss below.
I want my fly to be three to five feet off the bottom, depending on water clarity.
Slower and Deeper Fly Presentation: After my fly lands, I do a hard mend upriver with the entire line and as much of the sink tip as possible.
This adds slack in the line allowing the fly to sink deeper before it starts to swing.
Periodic mending upriver will keep the fly line angle and the head of the fly more upriver, which makes the fly swing slower.
This angle and speed are best for deeper fish, when the water is ice cold, and when the steelhead are not as aggressive.
Faster Fly Presentation: If I don’t mend at all, or if I mend downward the fly will pull and swing faster, so my fly moves faster and higher in the water column. The fly also swims more sideways which shows the fish a larger broadside view of the fly, which is a good thing.
A faster moving fly allows me to cover more water.
I will use both a slow and a fast presentation depending on the spot and the activity level of the fish.
Deep and Fast Presentation: I will do an upriver mend as soon as the fly lands to create slack and sik the fly deeper, and once the line goes tight a no-mend swing or downward mend will speed up and turn the alreader deeper fly sideways. This is my go-to method.
Advanced Mend And Cast Method
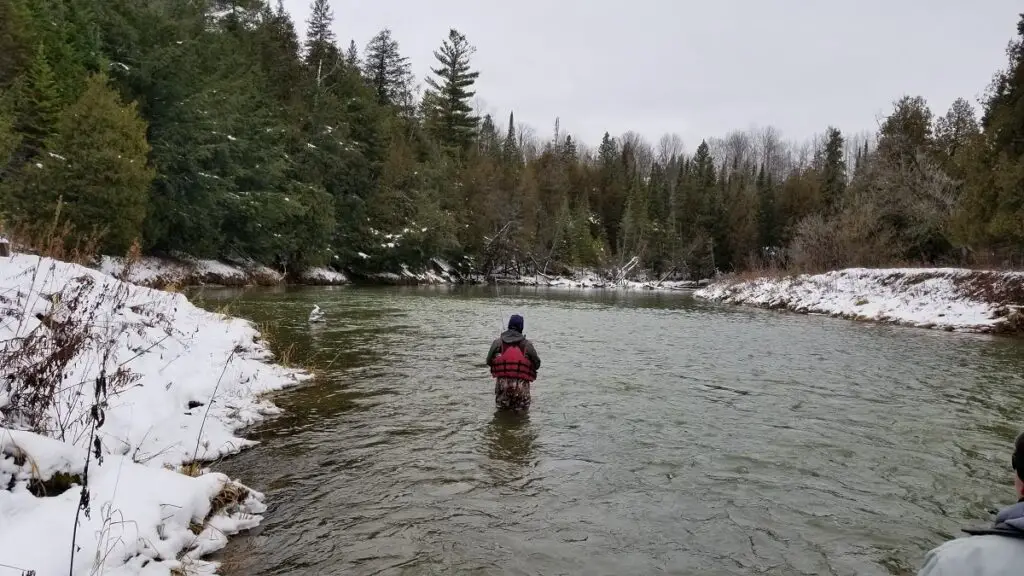
When I ask guides and anglers about fly depths and how they know how deep their fly is compared to how deep the spot is, they tell me that they and most anglers guess or hope their fly is deep enough.
They rely on changing sink tips to get deeper, but they still never know for sure if their flies is deep enough because they don’t always know how deep the spot is.
Guessing and changing sink tips and hoping my fly was deep enough was not acceptable to me. So I use a method I’ve never seen anyone use before, and it enables me to consistantly catch more fish than other anglers.

I use a three-step method to get more depth, find the bottom, and find out where my fly needs to be to catch fish.
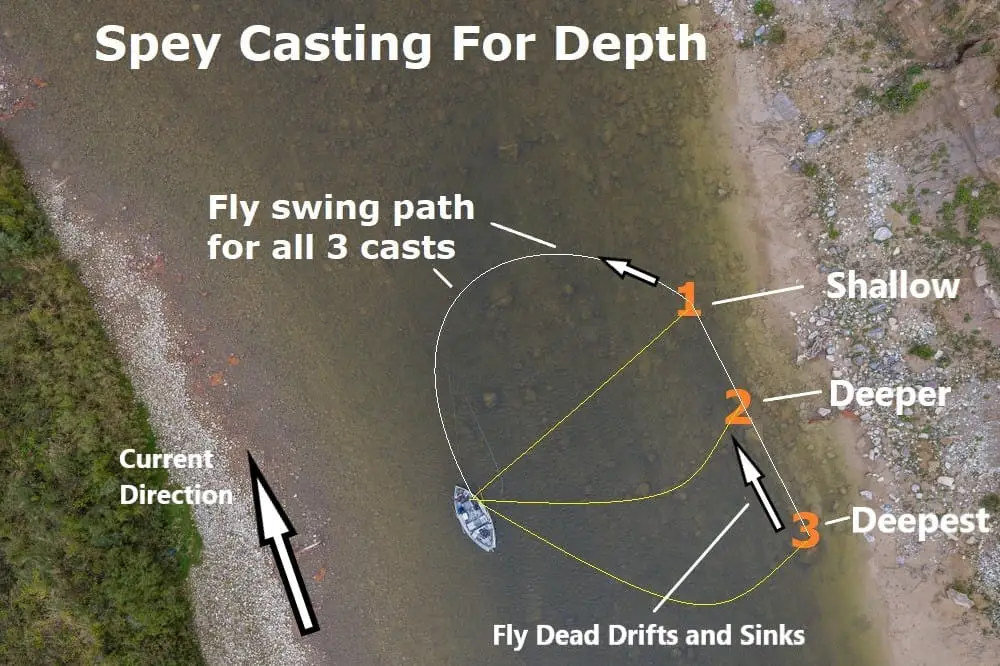
Cast #1 – The fly lands slighty downriver of the angler and starts to pull and swing immediately, which keeps the fly riding higher in the water column.
Cast #2 – The second cast is straight across the river or slightly upriver with a slight upriver mend. The fly will dead drift down to position#1 and will sink deeper on the dead drift but will still start to swing at the same spot as cast #1 did. I can get my fly two to four feet deeper than the first cast with the same sink tip.
Cast #3 – Cast position #3 is 10 to 30 feet upriver of the angler or upriver of where the last cast landed. I use a hard upriver mend. This increases the dead drift time and sinks the fly very deep. It still starts to swing in the same spot as cast position #1.
This allows my fly to swing the exact same line three times but at three different levels of the water column using the same sink tip. I do this because I am trying to determine the depth of the active fish, or I’m trying to hit the bottom to ensure my fly is deep enough.
If I hit bottom on any cast, I start my next casts by landing them at the angle I fished before the cast that made me hit bottom. This means if I hit bottom on cast position #3, cast position #2 was perfect.
If I don’t hit bottom on cast position # 3, I will sometimes cast further upriver from cast position #3, or I will switch to a heavier sink tip and start again at position #2.
Once I find the right depth and know which casting position is best, I move down three steps, but I keep casting at that casting position.
However, spots can get deeper the further down I go, so every third cast, I test with a higher upriver position cast to determine if the pool has gotten deeper or not.
It takes me two to three times longer to fish a pool, but I always know I’m deep enough, I rarely change sink tips in the same pool, and I almost always catch double or triple the amount of steelhead other anglers do.
Pro Tip: Since I have determined the correct casting position and depth of the spot. When I’m at the end of the spot, I will often go back to the top of the pool and fish it again with another color fly, a different-sized fly, and a different fly pattern. Doing this has caught me a lot more fish and has really proven to me how many steelhead I and others miss.
I also discuss this on my page Great Lakes Steelhead Spey Fishing, for those reading this that fish the Great Lakes Area.
Steelhead Grab: The Hit
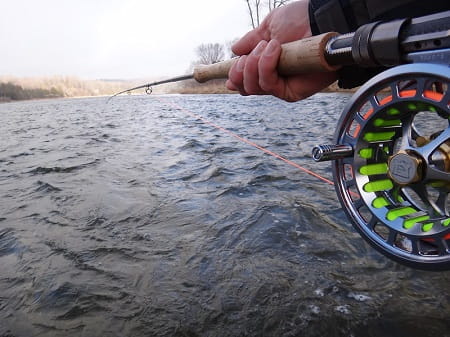
When swinging the fly across the pool, I keep my rod tip slightly ahead of the line to lead the fly across the pool. I also keep my rod tip horizontal to the water and pointed downriver.
Steelhead Throughout The Seasons
Steelhead guides will use different tactics, and different flies in spring, fall, and during the winter. I discuss this in other articles.
Spey Fishing For Steelhead In Winter.
Fall Spey Fishing For Steelhead: Guide Tips and Tactics.
These methods also work for West Coast Steelhead Spey Fishing.
Getting your fly deep, controlling the speed, and using the right flies are critical to success.
Tight Lines,
Graham
Great stuff! Can’t wait to read the last two sections! Definitely want to read more on controlling your speed.
I’m working on it, I’ve just been crazy busy… Stay tuned 🙂