Dead Drift Nymphing Speed: Understanding Speed
I don’t know how many times I’ve heard a guide or angler say that to get a good drift, you need to match the speed of the bubbles or the speed of the current. This is wrong!!
Nymphing speed is critical, so unless you are fishing your nymph on the surface, you do not want to match the speed of the bubbles, because the surface current is often much faster than the bottom current.
Key Takeaways
- Learn about stream dynamics and why the bottom current is often slower than the surface current, and how this affects catching fish.
- Learn which nymphing methods are best for controlling speed and how to make the other methods, such as indicator fishing more effective.
- Why the old method of mending sucks, and how to mend more effectively
- Tools, indicators, and ideas to increase your ability to control speed.
Most Guys Are Nymphing Wrong
Most guys are nymphing less effectively than they should be. Don’t worry, I did too…
For the first half of my fly fishing life which expands over 38 years, I was told and believed that your indicator and fly should be moving at the same speed as the bubbles. I’ve read this in books, seen it in videos and TV shows, and even heard good guides say it. I still hear it all the time, but it’s rarely correct advice.
Then, around 2004, I learned about a method known as Euro Nymphing. I studied it, I trained with some of the best euro nymph anglers in the world, I started teaching it, and the more I understood about this method, the less I used an indicator. I simply realized that Euro nymphing is a superior nymphing method simply because of speed control. But Why?
FYI, this is not an article about euro nymphing, it’s about controlling your speed with all nymphing methods for more fish.
There are three things that euro nymphing does better than other nymphing methods, such as Indicator fishing. These three things are:
- Speed Control
- Depth Control
- Strike Detection
Speed Control When Nymphing
But I am only going to discuss speed control here. You can learn more about depth control or strike detection on these pages. Euro Nymphing: A Complete Guide and Euro Nymphing For Steelhead.
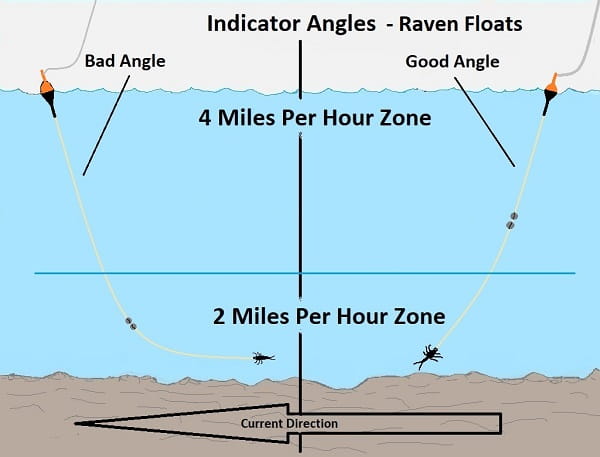
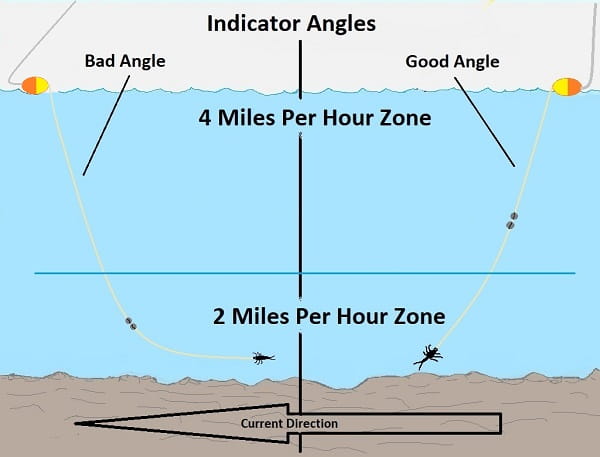
First, Euro nymphing does not use a float or indicator of any type. A float or indicator will gets pulled by the surface current which pulls your fly, often too fast. Anglers will try to mend their fly lines to have their indicator match the speed of the bubbles, but most of the time, the surface current is much faster than the lower current.
Bottom Current Vs. Surface Current
What most anglers don’t understand is stream and current dynamics. Basically, the bottom current is often much slower than the upper current. The upper current in some cases can be 50 to 90% faster than the bottom current, which is where the fish are holding and feeding.
This slower bottom current is a proven phenomenon of stream hydraulics and is often caused by friction from the rocks, uneven river bottom, or just the fact that the river bottom might drop down deep, but the current doesn’t follow the river bottom curve.
Slower Means More Fish
Why does this matter for you as an angler?
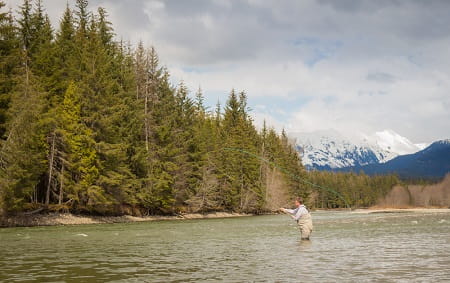
Imagine a big steelhead or trout sitting 6 feet down on the bottom of the river, and it’s occasionally feeding on the odd piece of food that drifts by. There is also lots of debris drifting past the fish, which could include little pieces of bark, sticks, leaves, weeds, or algae.
Everything the fish sees all day long is moving at the speed of the bottom current, which could be about 2 to 3 miles per hour.
Now, on the surface, your indicator is being pulled along with the bubbles, which could be 6 or 7 miles per hour faster current. Guess how fast your fly is moving down in the fishes strike zone, yep, 6 or 7 miles per hour!
This means while everything the steelhead or trout sees and feeds on is moving at 3mph, your fly stands out like a sore thumb when it’s moving at 6 or 7mph, and that is a bad thing.
And although anglers do catch fish sometimes by matching the speed of the bubbles, I guarantee they are missing a lot of fish!
I tell anglers this all the time, ” trout and steelhead are dumb as a bag of nails.” They have no idea what a line is when they see it, they have no clue what a hook is when they see it, and they have no clue why a fly is moving twice as fast as everything else, but….. “
“Trout and Steelhead are instinctually cautious, which is why if they see a hook, or a line, or a bait moving at twice the speed as everything around them, they will avoid it. The simple truth is that anything out of the ordinary in their environment could spook them or prevent them from biting your fly.”
Slow Is Easier For The Fish
The other thing to consider is that a slower moving fly is easier for the fish to spot, and it’s easier for the fish to grab. Slower flies that move naturally get eaten more often.
Living Proof The Right Speed Catches More Fish
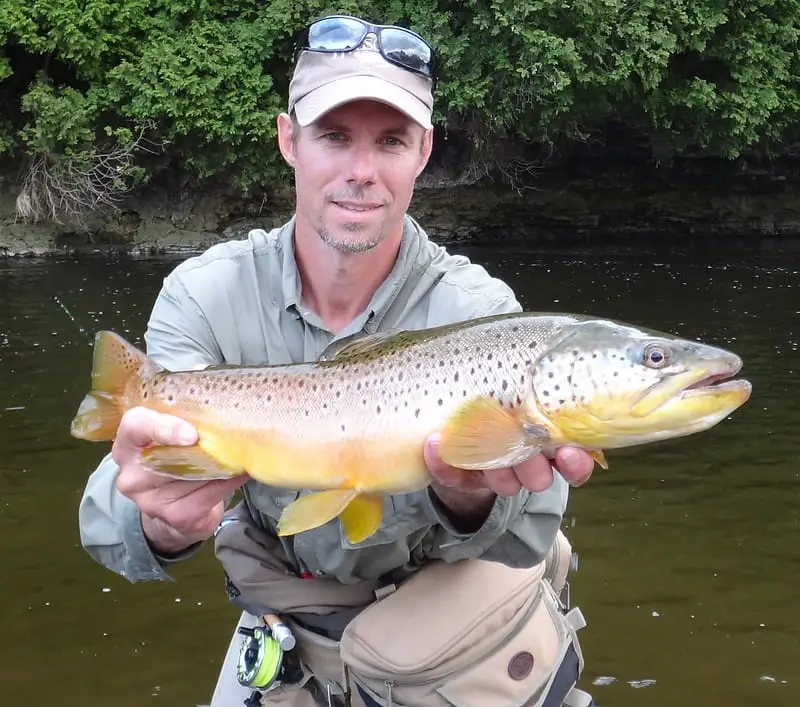
This is the reason why I have seen over and over again two of my clients fishing with the same rods, reels, line, leaders, setup, and same flies or bait, but one guy catches ten times more fish. I used to think it was just luck, but I was wrong.
I’ve guided close to 3000 anglers, and after watching that many guys fish, I eventually determined that most of the time, the one angler catching all the fish has a slower presentation… Period!!
To prove it, I would even take the hot fly off the one angler’s line and put it on the other guy’s line, thinking now he will catch all the fish with the hot fly, but he doesn’t. I basically switch baits or flies. The crazy thing is that the fly that wasn’t catching fish now starts catching fish, and the hot fly stops catching fish!
This was a clear indication it wasn’t the fly that was the reason for catching all the fish, it was speed!!
Use Better Indicators
One thing that can help you control your speed is a better indicator. While some of the top indicators, such as Thingamabobbers, or Oros are easy to use, they really do not aid in speed control. And if you don’t control your speed, you will miss fish!
Unlike most fly fishing guides, I use a float-style indicators.
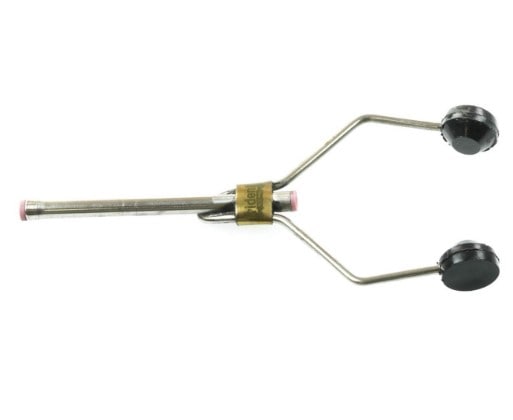
I also specialize in float fishing with centerpin reels and float fishing has taught me that a float with a pointy tip enables me to control my speed and my leader angles far better than a round indicator, which in turn means more fish in my net.
I also use bi-color football-shaped indicators, which also enable me to control my speed and leader angles better. See my article 13 Best Indicators For Nymphing.
Avoid Indicators
When Tight-Line Nymphing or Euro Nymphing, we don’t use a float or an indicator so there is nothing for that upper current to grab onto and pull. We use a thin leader with nothing bulky on it, so nothing is dragging on the surface.
This results in the flies moving at a speed that is much closer to the bottom speed, and that’s a great thing. So, if you can avoid using indicators, do it.
Super Thin Tippets
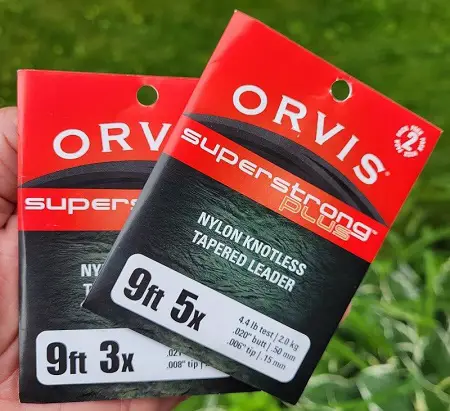
I also heard about competition anglers using 7X and 8X tippet/leader. I’ve never even seen 8X tippets prior to the popularity of Euro Nymphing.
At first, I thought 7x was too light and that 8x is ridiculous. But there is a reason for such a light leader, and it is the reason why you can achieve a slower speed with Euro nymphing.
The super-thin diameter leader/tippets do not get pushed by the current on the surface, mid-depth, or near the bottom because it’s so thin.
Think about it: put a thin wire like a coat hanger straight down into the current and see how much it gets pushed. Now try that with a piece of wood as thick as a 2×4. It gets pushed a lot more than the thin wire because the wire has less body mass for the current to push.
This is the same with tippet thickness, or the difference between a thin tippet going into the water compared to a strike indicator.
The only thing the current is pushing or pulling is the fly or flies and a little on the tippet. This means a much slower presentation on the fly, so it looks much more natural when drifting through the strike zone.
How To Slow An Indicator
It’s a lot harder to control the speed of your indicator or float when using a fly line. I use two methods to do this well.
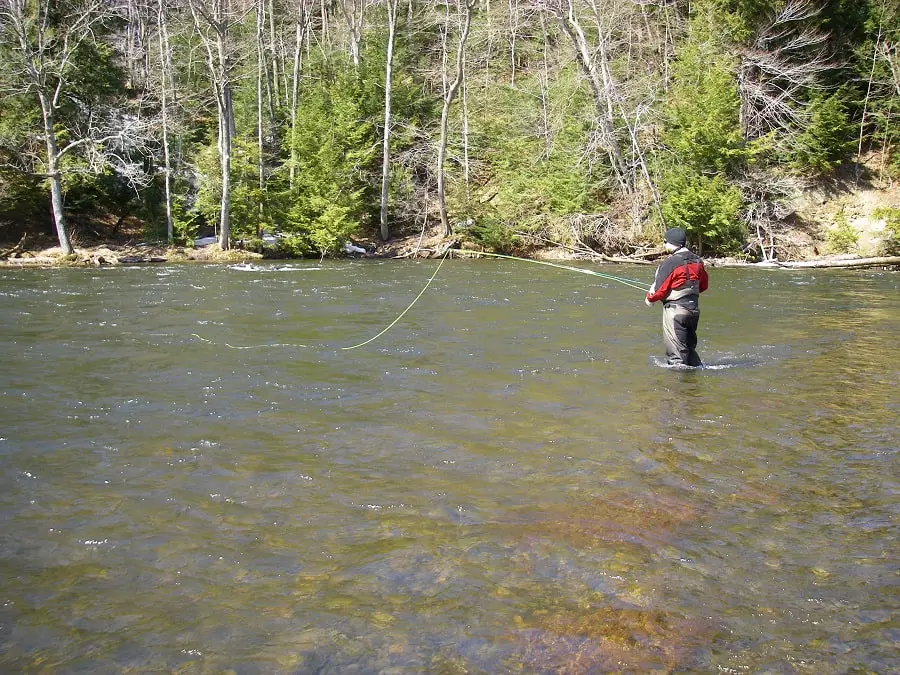
In shorter runs, I high-stick nymph, keeping the fly line and leader up and off the water, and will hold the float back using the rod tip. This is fairly easy; just move your rod tip downriver slightly slower than the current.
The other method is to shoot mend or stack mend the fly line directly above the indicator/float. I use this method for long drifts over 60 feet.
It’s hard to explain this tactic in words, but the extra drag of your line above the indicator can slow the indicator/float down a little, especially if you learn to hold it back slightly with your rod tip.
Once I have plenty of line above my float, I will use my high rod tip to pull/hesitant/slow the drifting fly line and the indicator.
Because it’s hard to explain I should have a video of this coming in spring of 2024. My video will show advanced casting, mending, and line speed control methods that I use and teach my clients.
You can sort of see it done on this video, however, try to practice putting more and more line upriver of the indicator/float without moving and bouncing your strike indicator all around as seen in the video. https://youtu.be/A5ca0SsGNsQ?si=2x-dnZzA5-DbgklR
Tight Lines,
Graham